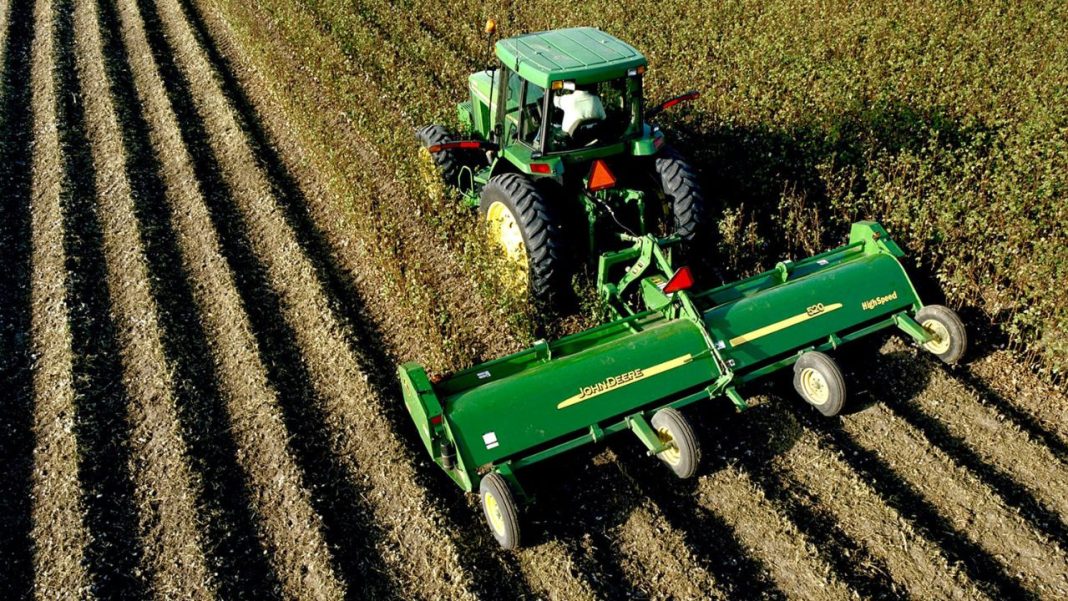
It may seem difficult to install a flail mower hammer but it is easy if one follows the correct procedure. According to carbidemulcherteeth.com below are some steps that will assist you in doing it in the right manner.
Gather Your Tools and Equipment
All the necessary pieces of equipment needed for installing the flail mower hammer are as follows:
- A socket wrench set
- A hammer
- A screwdriver
- A new flail mower hammer
- Safety gloves
- Safety glasses
Safety First
Always put safety first. Wear protective gloves and eyeglasses. These will protect your hands and face from sharp edges and stop debris from hitting you.
Prepare the Mower
Make sure the mower is turned off and on a flat surface. Press the brake pedal and move the lever to the “P” position to set the parking brake. Release the brake pedal to lock the lever. For added safety, make sure the mower is not connected to a tractor or any power source.
Access the Flail Mower
Locate where the hammers of the flail mower are fitted. This is usually under the mower deck but it has to be above the ground to be effective. Perhaps, it will be necessary to unscrew some covers or shields to get to the hammers. You should also unscrew any screws or bolts which hold these parts gently using a screwdriver.
Remove the Old Hammer
Find the hammer that you will replace. It is usually secured in position by a bolt or a pin. You can use your socket wrench to either unscrew the bolt or pin that is holding the wheel in place. If the old hammer is stuck then tap it gently with a hammer. After it is free, remove it and leave it somewhere.
Install the New Hammer
After that, it is recommended to take your new flail mower hammer and position it at the mounting bracket. Insert it into position. Ensure that it covers the hole or slot where the bolt or pin will go tightly and in the right direction.
Secure the New Hammer
Put the bolt or pin through the hole to lock the hammer in position. Using a socket wrench, tighten the bolt or pin until it is just tight enough. Do not apply excessive pressure in the tightening of the hammer or when using the mower as this may lead to damages.
Reassemble the Mower
If you had to strip off any covers or shields earlier, then replace them with their positions. Now is the time to put back screws or bolts that you may have loosened using your screwdriver. Check that all your items are well secured before proceeding.
Test the Mower
Connect the mower back to the tractor or the power supply as the case may be. Turn on the mower and let it warm up for some time. Ensure that the new hammer is in good condition and has no strange sound or shake during operation.
Check for Proper Function
When you finish operating the mower, check the hammer to verify if it is working correctly. If there is a problem, stop mowing and inspect all of the mower’s parts to verify that they are properly repaired and adjusted.
Conclusion
It is possible to install a flail mower hammer by following the above-mentioned steps. It also helps in achieving the basic objective of installation which is to have your mower working as efficiently and safely as possible. In any case, it is recommended to follow the manufacturer’s guide to find out some unique features of the flail mower that you have bought.


